Before reading further please start by consulting the LICENSE and the Liability Waiver. This project was made publicly available under the MIT license, which means that it is released with very limited restrictions and WITHOUT WARRANTY OF ANY KIND. This is further expressed in the liability waiver, where anyone using assets or knowledge published in this repository basically agree to NOT SUE THE AUTHORS of REPOSITORY.
Components LIST
Computer
| Raspberry Pi Zero WH is a small 1GHz computer capable of running a Linux operating system. The WH model supports wireless communication such as WIFI and Bluetooth, and we want that in order to utilize a wireless remote. The WH model also has the 40 pin headers already soldered, which allows for attaching extension boards. In addition to the Raspberry Pi, we will need a MicroSD card for storing the software. | 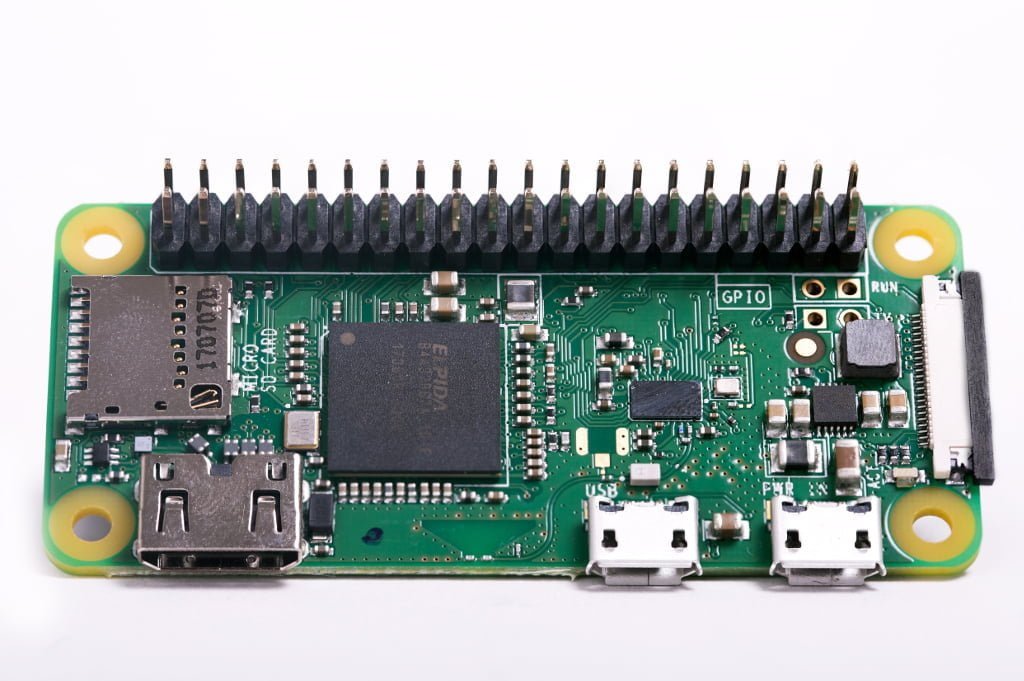 |
| Waveshare SenseHat (b) is a small sensor extension board. It enables a Raspberry Pi to receive sensory inputs. This board has many input components, but we are mainly interested in the gyroscope + accelerometer, which tracks the physical movement of the board. |  |
| SB Components 4 channel relay for Raspberry Pi Zero is a small 4 channel relay extension board. It enables a Raspberry Pi to turn on and off four high voltage relays. |  |
| Waveshare Li-ion Battery HAT for Raspberry Pi is a small battery extension board. In addition to the board, we will need an industrial class rechargeable battery without solder tags. A Sony US14500VR2B Lithium Ion Battery 715mAh was recommended to me, so that’s the only battery I’ve tested, but I was unable to find that particular battery on Amazon UK. | 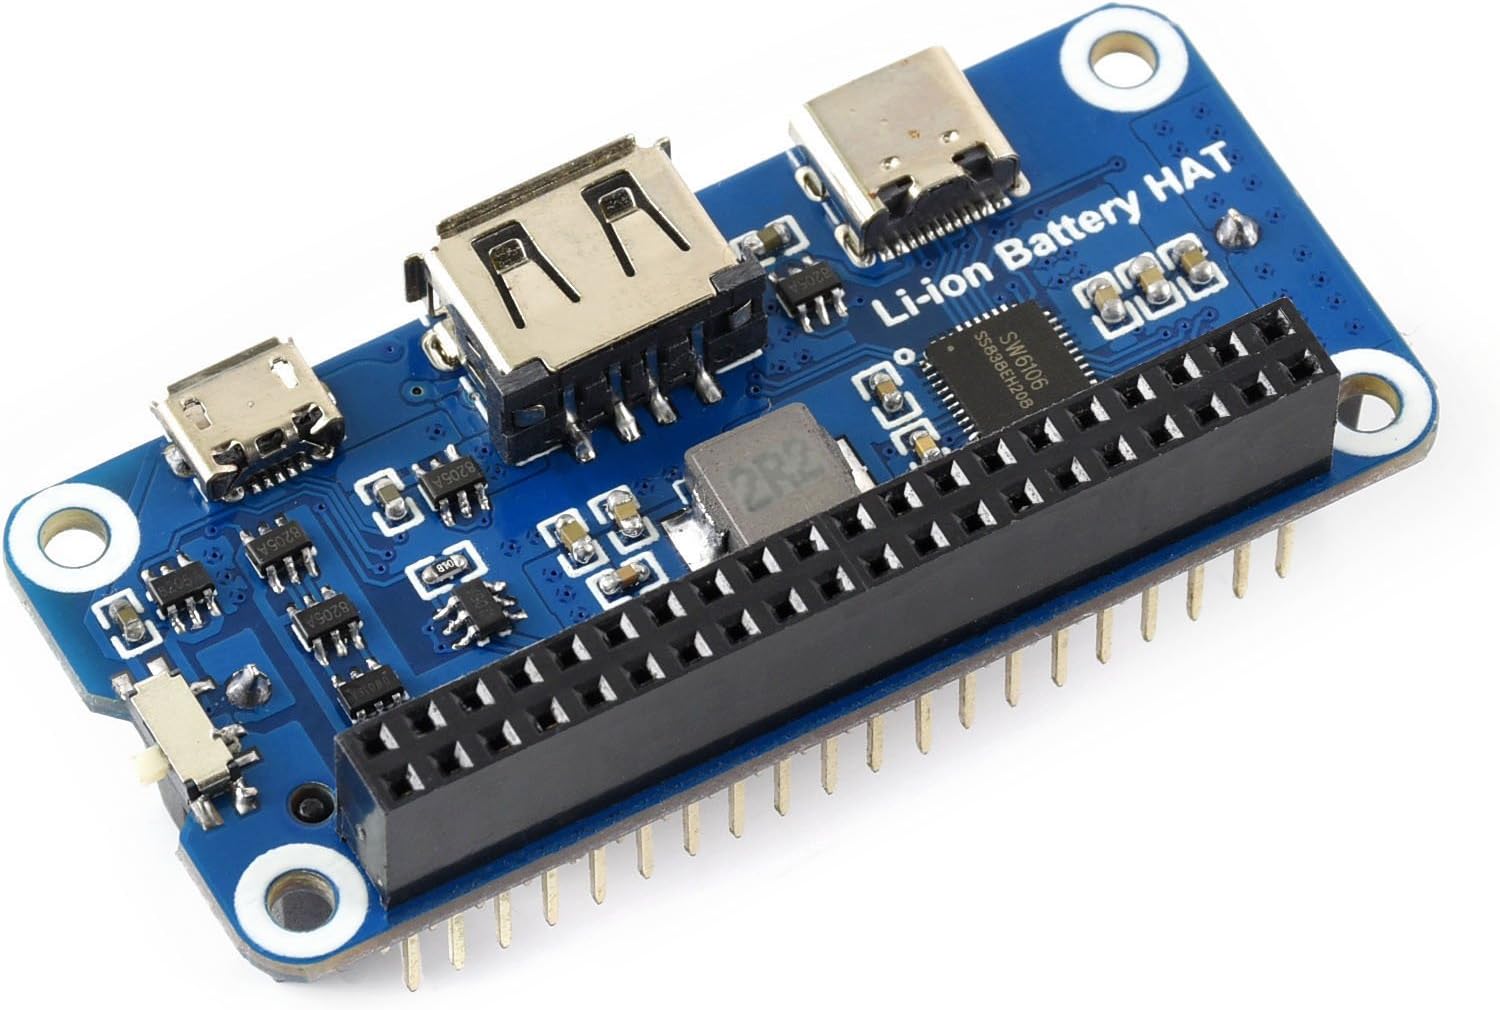 |
| 8Bitdo Zero 2 Bluetooth Gamepad is a wireless controller. It allows us to remote control the Raspberry Pi. |  |
| Transparent Enclosure adds some protection of the computer components. | 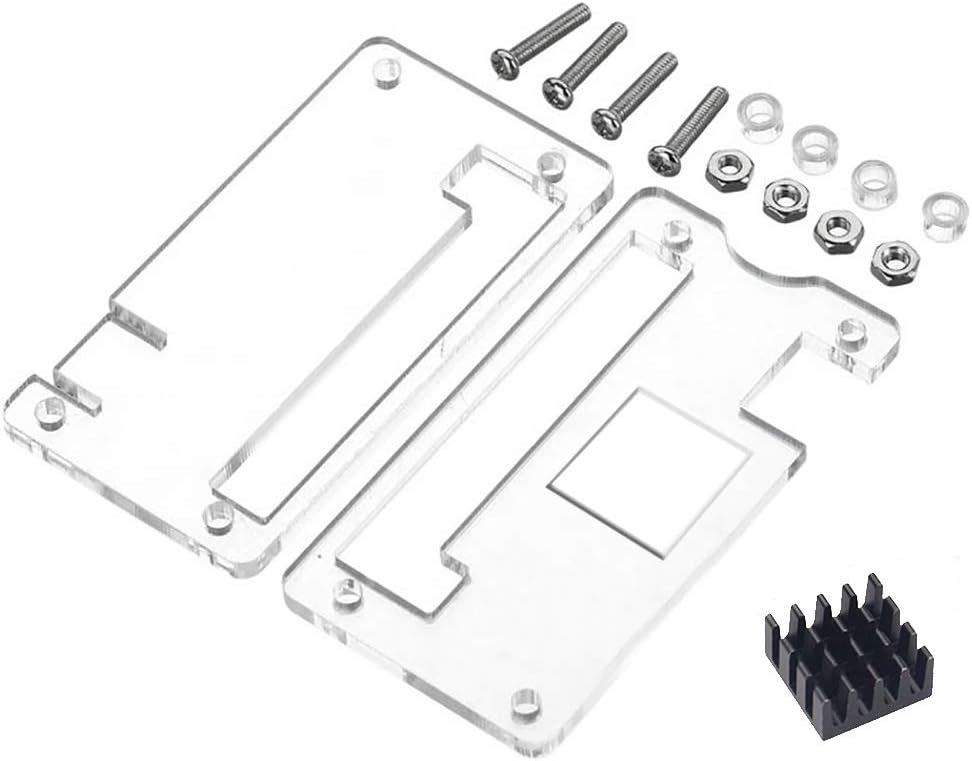 |
| Assembly Screws are needed to assemble the computer. Any collection of variable sized M2.5 screws will probably do. |  |
Muscle Stimulator
| Analogue Dual Channel Generator allows for an ‘always on’ signal generator, which can be adjusted to create the optimal signal for activating muscles. This model should be sufficient for smaller muscles, but activation of larger muscles will probably require a more powerful device. | 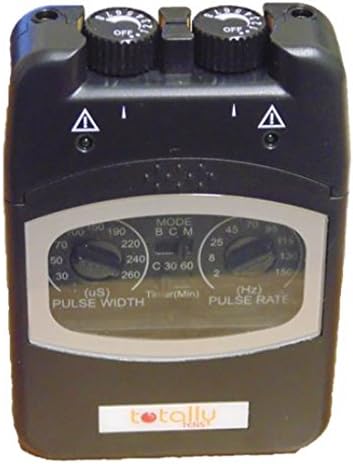 |
Enclosure
| Water Resistant Running Waist Pack allows for a wearing the device. This belt has two compartments, but they are not connected. I did a little sewing magic in order to add a small passage through which to route cables. |  |
Tools
- SD card (at least 4 GB)
- SD card reader
- Pliers for cutting the stimulator cables and removing the cable isolation
- Sewing tools for changing the shape of the waist pack
Assembly
The computer can be assembled in the following order (from the top):
- Upper Enclosure
- Battery Hat
- Sense Hat (with the header extender inserted)
- Relay
- Raspberry Pi Zero
- Lower Enclosure
Before assembling the relay, make sure to attach all the cables correctly and thoroughly. I ended up having to solder the wire endings for them to stick in the relay. Maybe some metal can be wrapped around the thin cables before attaching them in the relay sockets (e.g. using end sleeves or ferrules).
We would like for the electrodes to turn on when the relays turn on. For safety reasons we choose to route both wires through the relay so they are both disconnected when supposed to be inactive. The two wires from the EMS unit will be wired to the COM connected on two relay channels. The two electrode wires will be connected to the NO (Normally Open) connector on the two relay channels. The NC (Normally Closed) connector is not used.
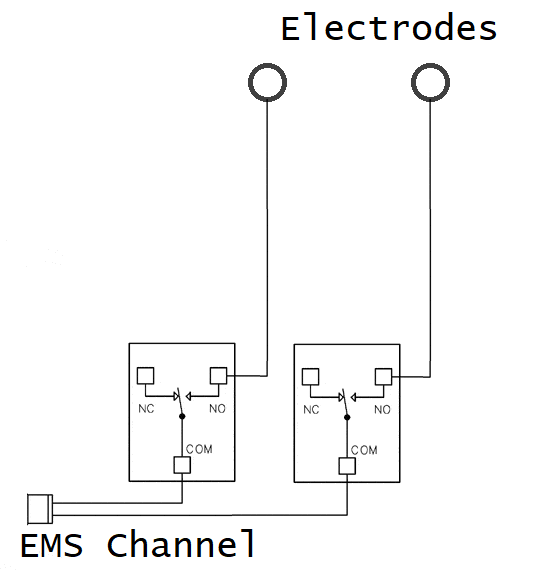
I would expect that if a wire is colored, it means this is the positive cable. We should probably add some markings on the corresponding electrode cable so we can ensure that this electrode is placed furthest away from the heart (the recommended placement as fast as I understand when reading the instructions from Compex on the matter).
Software Installation
TODO: Figure out how to get the software on an SD card along with all the relevant OS components and configurations.
